|
7 Interesting
Facts On Ceiling Fan Installation
|
Effective ceiling fan installation tips
Ceiling fans are able to reduce heat and keep the
temperature comfortable and cool in the room. You may not
feel the need of a ceiling fan in the winter, however, when
the humidity of summer arrives, you will certainly know the
importance of a ceiling fan. Installation of a ceiling fan
may seem like a difficult task; however, you may find that
if all the wirings are in the order, then installing it
could be quite easy. Before you begin with the installation,
there are certain items you should take into consideration.
The style and size of the fan you will choose is very
significant and in order to get the most suitable fan for
your room, you will need to know the size of the room and
the kind of ceiling you have. Few people have vaulted
ceilings, which could make it quite difficult to install a
large ceiling fan. The positioning of the fan will also be
affected if the ceiling is vaulted. Once you choose the
appropriate kind of fan for your ceiling, you can then start
the process of installation. Below are given basic and
effective installation tips of a ceiling fan that you should
go through:
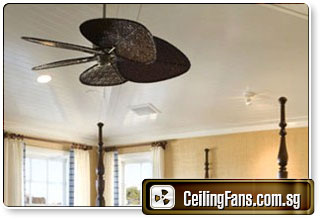
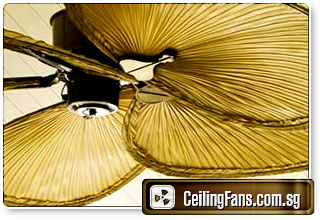
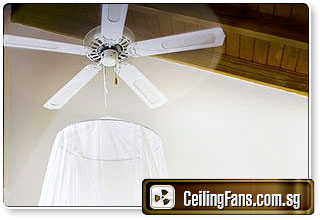
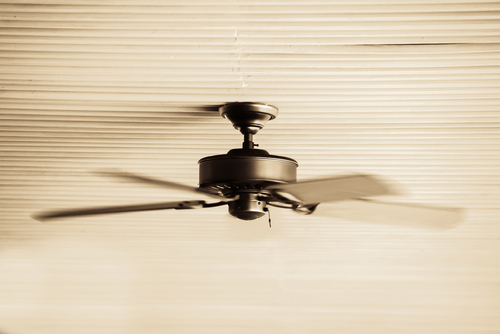
Ceiling fan installation
Pre-Installation
Turn off the main switch: The most important thing you first
need to do is turn off the power when it comes to installing
or removing the electrical fixtures. It is very necessary to
follow the instructions effectively. Don’t just switch off
the lights that control the light. You will need to turn off
the breaker, which controls the light in the room where you
wish to install the fan. Remove the old light fixture: You
should start this process in the middle of the day as you
will need to open your blinds and window shades to let
enough light in the room.
As far as the type of fixture you will be removing, first
dissemble your old fixture and remove it from the light box.
Disconnect the wires: You then need to make sure you
disconnect the wires from old assembly. However, do ensure
marking each wire as to its exact location. It will help you
installing it again at ease. Inspection of the old
electrical box: Check if the currently installed electrical
box is able to handle the weight of the fan and is mounted
to either a cross brace or a truss. It will ensure the
proper foundation for your new fan. If for whatever reason,
your electrical box isn’t mounted properly, then you better
get the right mounting brace and electrical box. While
installing a ceiling fan, weight is an important factor to
consider, therefore choose wisely.
Installation
Before you began with the installation of a ceiling fan,
first read the instruction provided with the fan thoroughly
in order to know the details about the fan. Make sure to
have all the necessary items nearby so you won’t have to
move from your place while installing.
1. Install mounting bracket:
The initial thing to do is to install new mounting bracket
onto the electrical box. This bracket will actually be
holding the new fan.
2. Employ working hook:
The ceiling fan motor is extremely heavy and the
manufacturers are well aware that you cannot hold the fan
from one hand and do all the wirings with the other. That’s
why they have made this thing called working hook that
permits you to hand the fan motor through the hook while you
are securing the wires.
3. Securing and assembling of wires:
Now you will assemble the wires with proper wire color
codes. Generally, the white wire indicates the neutral; the
black wire indicates the power leg while the green wire
indicates the ground. You may also find a red wire that is
normally used for looping depending on the number of light
switches control a single light. Normally when you see this
wire, you have multiple light switches in one configuration.
Just make sure to follow the wiring exactly as you removed
from the old fixture and you won’t have any difficulty.
4. Secure fan motor:
Now you will need to secure the fan motor to the mounting
bracket. Push all the wiring in the electrical box and
secure the motor with mounting bolts, which have been
supplied.
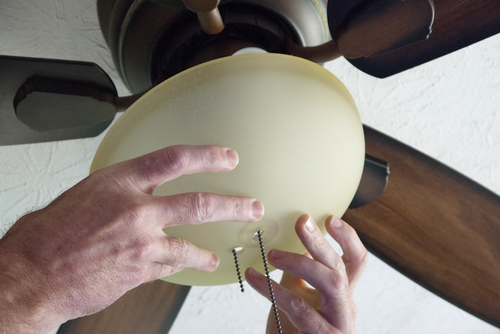
5. Install the fan blades:
After you finished mounting the fan motor and putting the
cover, it will now be the time to install the fan blades.
Attack each blade one by one and secure them with
accompanying hardware. Double checks if the blades are
installed properly as you don’t want your fan to misbalance.
6. Check your job:
Once you are finished installing the ceiling fan, it is
necessary to turn back and take a detail look on your work.
Make sure that the light switch is turned off. Take a short
break and return to the room and switch on the light and see
if the fan and light are working well.
Installation of a ceiling fan isn’t that difficult of a job
as many think it is. The biggest pressure is when a person
installs a ceiling fan is dealing with electricity. Most of
us don’t have sufficient knowledge when it comes to
electrical applications. However, as long as the power is
off, it’s only a matter of disassembling the old fixture and
replacing it with the new one. Follow the steps wisely and
you will be able to install a ceiling fan in your without
the need of an expert hand that will cost you money.
However, if you are still not sure about taking the job into
your hands, then it is always recommended to take the
assistance of a professional. Hiring an expert to install
the ceiling fan in your room could be very beneficial for
you as he will be able to install the fan effectively and
also do the repairs if any were to be found.
Secure the motor:
Now you will need to secure the fan motor to the mounting
bracket. Push all the wires inside the electrical box and
secure the fan motor with mounting bolts, which have been
supplied. |
|
|
|
|
|
|
|
|
Singapore Leading Home & Office Ceiling
Fan & Lighting Specialists |
|
 |
|
| |
| |
|
They have got alot of
ceiling fan designs to choose from. I happened
to find them from Google and i booked for an
appointment and they came and recommended me
some ceiling fan designs. I am very pleased with
them. I would strongly recommend them to anyone
who is looking or ceiling fans and lighting. |
| Mrs Choo (Clementi) |
|
|
|
|
Singapore One Stop Solution For All
Types of Ceiling Fan & Lighting Services |
|
|
|
|
|
No Obligation Onsite Quote For
Lighting & Ceiling Fan Services |
 We are Specialists in:
Ceiling Fan, Ceiling Fan with Lights, Designer Ceiling Fan &
Lightings |
|
I just got my keys for my condo and i was
recommended by my colleague Albert to get a
quote from them. Indeed, they got many ceiling
fan designs to choose from and i am very
impressed with their rates and service. Keep up
the superb work guys. |
|
Mr & Mrs Chew (Punggol) |
|
|
|
|
|
|
|
|
|
|
|
|