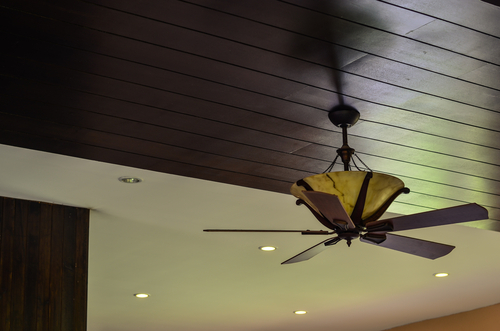
5 Things You Need
To Consider Before Buying Ceiling Fans And Installation
Guide
A fan gives you relief from the sultry summer and is a
must-have for every home. It may look a tad difficult to
choose from hundreds of ceiling fans (since they come in a
wide variety) but you can make the task easier if you know
exactly what you are looking for.
Here are a few things you need to consider before buying
them:
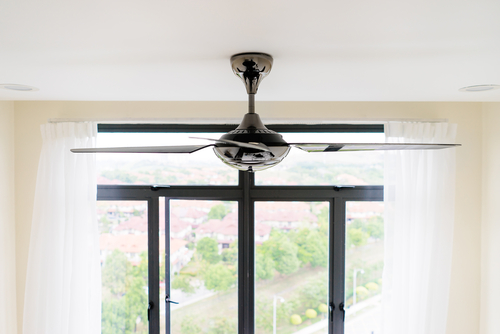
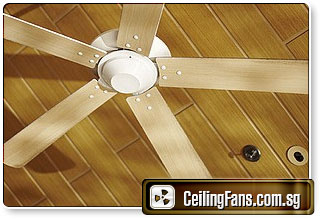
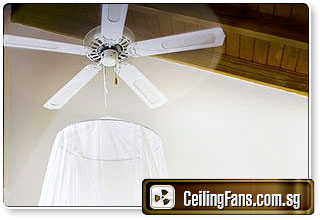
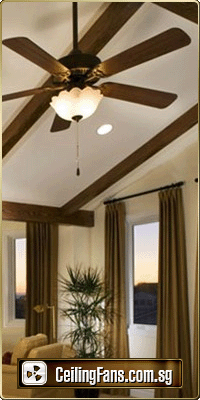
1. The height of the ceiling: One of the prior things to consider will be the height
of the ceiling. There are basically two types of fans- the
hugger fans and the ones with down-rods. If the height of
your walls is small, then the hugger fan is preferable,
since it won't hang down and would stay close to the
ceiling, thereby according to complete safety. There are
some modern day households where the height of the ceiling
is barely 10 feet or even less. Getting down-rod fans
installed in such rooms can be risky. On the other hand, if
your ceiling's height is quite good, then you should opt for
the down-rod fans so that the air can easily reach the
residents below. Hugger fans may not give out sufficient air
in these cases. Alternatively, you can also install paddle
fans.
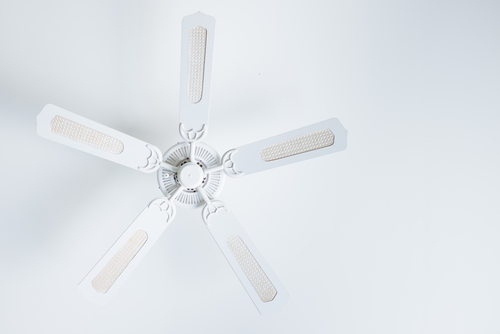
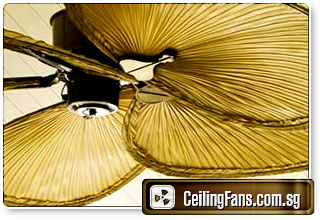
2. The size of the blade:
Another important point that you need to consider is the
size of the blade. The amount of air circulated in the room
is highly reliant on the blade's size. If your room is very
large, say over 200 sq feet, then installing a fan of blade
size of 32" will not be rewarding, since it wouldn't be able
to cover the entire room. Ideally, a 200 sq feet room must
have a fan with blade size of around 52". On the other hand,
if you have smaller rooms of around 16-40 sq feet, then you
should install ceiling fans within the size range of 24-32
inches.
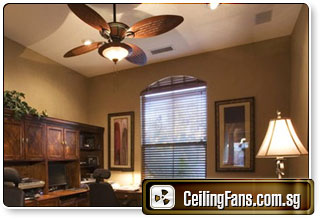
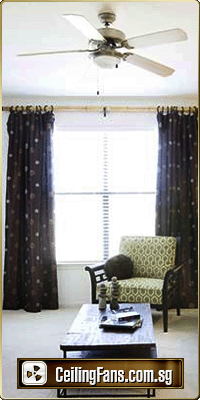
3. The room factor:
You also need to consider the room factor i.e. you must
brood a bit on the quality of fan you are looking for while
installing it in a particular room. For instance, if you are
installing a fan in your bedroom, you should spare more
thought and money to get high-quality, silent fans and even
the remote-controlled ones, if possible. On the other hand,
for garages and other less frequented rooms, you can even do
with paddle fans or with inexpensive ceiling fans.
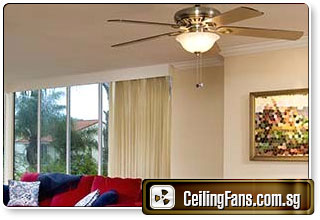
4. Budget:
Your budget will automatically come into play when you buy
these priceless assets. Though now-a-days, it is very much
possible to install the most sophisticated-looking interior
& Casablanca fans, you can also get a very impressive set of
fans for a low budget. Good website stocks all kinds of
branded products including the latest paddle fans to help
you choose from the lot. Prices are reasonable and the
quality is very satisfying. It is deeply recommended that
you purchase branded fans.
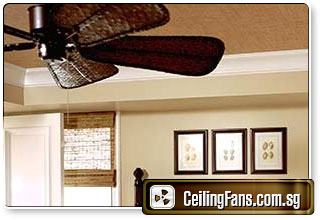
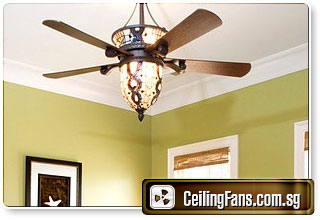
5. Looks vs. price:
While purchasing interior or Hunter ceiling fans, you may
have to wage a mental battle in choosing between looks and
cost. It is ideal to go for a combination of good looks and
medium-range costs.
Home Improvement Guide on How to Install a Ceiling Fan
In this home improvement guide, you will learn how to
install a ceiling fan. Fans that are hung from the ceiling
have a high level of functionality. However, these units
also add decorative appeal to the room that they are located
in. Ceiling fans can be used in both the winter and the
summer in order to control the air flow within a particular
room so that energy usage can be drastically reduced. When
you purchase your fan, you will often find that it comes
with a set of instructions. Naturally, it is important to
ensure that you take the time to review this information for
specific directions on the model that you have purchased. In
this guide, you will learn the power tools that are required
to complete the job, and the steps that must be taken to
install a ceiling fan in your home.
A) Materials Required
In order to successfully install a ceiling fan in your home,
it is important to realize that there are certain materials
required. As with any home improvement project, the
materials will vary based on the size of the room, the
ceiling fan kit that is purchased, the electrical makeup of
your home, and factors similar in nature.
The following list identifies standard materials you may
require for your project:
- It is important to ensure that you have purchased a
ceiling fan kit.
- You should have a specific outlet box for the unit.
- It is important to have a power tool based screwdriver
with a slotted, and Philips tip. There are some projects
that may require a flat tip.
- It is a good idea to have wire cutters and a few wire nuts
on hand. Electrical tape may also prove to come in handy.
- A good sturdy step ladder or a standard six to eight-foot
ladder is likely to come in handy on this particular home
improvement project.
- Having certain tools available such as a wrench that
adjusts, and a pair of pliers is a positive move.
- Remember, when engaging in home improvement projects, be
sure to protect yourself! You can successfully do this by
wearing protective eye goggles, masks that prevent dust and
other air contaminants into the nasal cavity and the mouth,
and even gloves to protect your hands from abrasive wires
may come in handy.
B) Installing the Ceiling Fan
Now that you have all of the materials and any type of power
tool that will assist you in installing a ceiling fan, it is
time to actually perform the work.
The following steps indicate those required to successfully
complete this home improvement project:
1. The first step is to install the bracket that will mount
the ceiling fan to the ceiling. Remember to ensure that the
power is cut off from the breaker box so that you do not get
electrocuted. You will need to place the outlet box in the
ceiling. Generally, these units are already in place. For
the purpose and intent of this article, we will go with the
fact that there is already an outlet box established in the
ceiling. Simply use the power tool that you got for the job
- the electric screwdriver - and bolt the mount to this
outlet box.
2. Next, you must install the download that came with the
ceiling fan that you purchased. This is the stem that hangs
from the mount and connects to the fan.
3. Now, bring the wires down and place them in the housing
for the fan motor and secure the housing appropriately.
4. Once the housing has been tightened down, simply attach
the fan blade bases around the circumference of the housing.
5. The last step to installing a ceiling fan is to install
the blades on the blade bases that you have installed around
the fan motor housing.
Once you complete the steps for the home improvement project
of installing a ceiling fan, turn the power back on at the
electrical box and turn the unit on. Enjoy your new,
functional, and highly appealing ceiling fan!
Singapore Leading Home & Office Ceiling
Fan & Lighting Specialists
Singapore One Stop Solution For All
Types of Ceiling Fan & Lighting Services
No Obligation Onsite Quote For
Lighting & Ceiling Fan Services
We are Specialists in:
Ceiling Fan, Ceiling Fan with Lights, Designer Ceiling Fan &
Lightings
I just got my keys for my condo and i was
recommended by my colleague Albert to get a
quote from them. Indeed, they got many ceiling
fan designs to choose from and i am very
impressed with their rates and service. Keep up
the superb work guys.