|
7 Easy Steps To
Install A Ceiling Fan
|
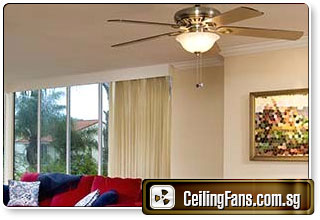
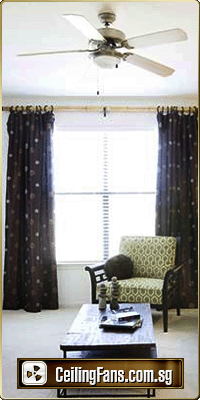
For any room, a ceiling fan is a functional and a stylish
addition. Almost every house in this world has a ceiling
fan. Everyone purchases a good quality ceiling fan that
provides a quality air into the room. But some people in
this world face a lot of problems finding an electrician to
install the fan in the ceiling. Now the main question
arises, how to install a ceiling fan? To install in the
ceiling, fans should be of good quality as low quality fan
can cause many problems in the future period. If your room
already has a ceiling outlet, then like any other ceiling
fixture, ceiling fan has the same wiring. If you are getting
an electrician, but you want the fun of installing a ceiling
fan, then hire him to install the overhead box and wires
across the ceiling. Here are the following steps to install
a ceiling fan.
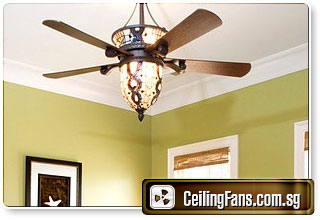
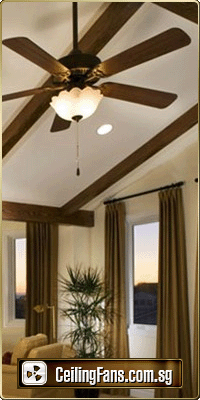
Step 1 - Choosing the appropriate size of the ceiling fan
As you know that the size of the ceiling fan must be adapted
to the room. It measures the size of the room in its longest
stretch. If this is 3.6 meters (12 feet) or less, the fan
must have a maximum diameter of 92 cm (36 inches). If the
room is 3.6 to 4.5 meters (about 12 to 15 feet), the
appliance can be up to 107 cm (42 "); and if the gap
measures 4.5 to 5.4 meters (15 to 18 feet), possibly with
106 cm (52 '').
Step 2 - Power should be turned off at circuit panel or fuse
Before installing a ceiling fan you should turn off the
power to be safe. This is very much necessary as safety
should be your first priority. You may find that the ceiling
box has several pairs of wires. Except for the one you are
working on for ceiling fan, there is a chance that other
wires will be wired to circuits. Hence, before you install
the ceiling fan, the power of the whole house should be
turned off with the help of a tester. In this way you will
be safe and all the power of your house will be cut off
providing a clean path to install the fan.
Step 3 - Removing the light bulb or cover from the fixture
Before installing the fan, remove any light bulbs or bulb
cover from the fixture. By holding the fixture base to the
ceiling box, the screws should be unscrewed. Standard
ceiling box shouldn't be used and this is also prohibited by
the National Electrical Code (NEC). This is because the
ceiling fans are heavy and installing it in a low standard
ceiling box may cause accidents. Always check the
installation instructions of the manufacturer before
purchasing the fan and the electrical ceiling box that is
approved should be purchased.
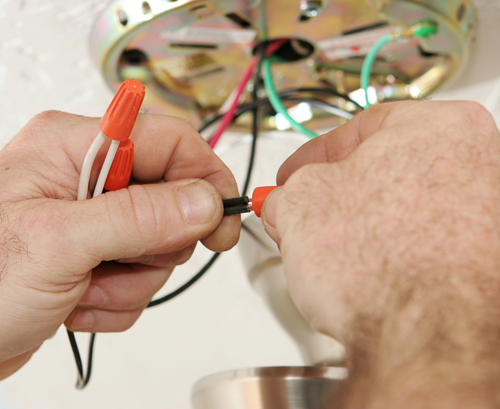
Step 4 - Removing the wires
There are two or three colors of wires in the ceiling box,
namely white that is neutral, black that is hot and green,
if present is grounded. Remove the wire nuts or electrical
tape by lowering the fixture base. From the existing ceiling
box the wires should be disconnected and then it should be
removed. The incoming cables to the box are secured by the
cable clamp screw and this should be loosened first. Then,
if possible, working from above, remove the box. Or you can
also remove any screws or nails that are accessible and
responsible for its attachment to the frame.
Step 5 - Installing the hanger bar and ceiling box
There are holes left in the ceiling of the old electrical
box and most of the hanger bars are installed in this hole
by pushing them through it. Once the hanger bar is through
the hole completely, it should be rotated until the ceiling
joists and the hanger bar are perpendicular to each other.
Until the bar engages the ceiling joists, it will expand.
There are sharp steel pins in the hanger bar and when there
is an expansion in the hanger bar, these pins dig into the
wood joists. After this the special ceiling box should be
attached to the hanger bar which will lock the box in its
place and a secure base will be provided for the fan.
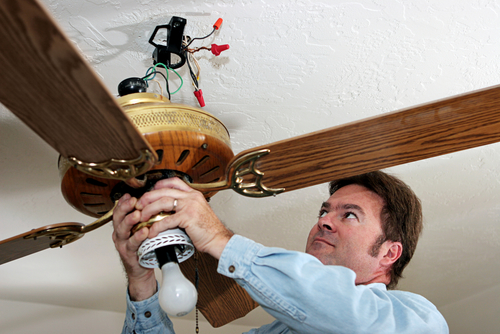
Step 6 - Assemble the fan
While attaching the wires, support is required as you know
that ceiling fans are heavy. In most of the models a some
sort of mechanism is provided below the ceiling box so that
you can suspend the fan and attach the wires with no effort.
If this sort of mechanism is not provided in your fan, then
in order to attach the wires you need a helper who will hold
the fan while you are attaching the wires.
There is a slight variation in wiring from fan to fan. It
depends on whether the fan is speed control or light
control. There is no variation in the installation of a
standard light fixture and a ceiling fan. Attach the
matching wires to the wires of the ceiling box with the help
of wire nuts. White should be connected to the white one of
the ceiling box and the same goes to the black one or some
other color if provided. If there is a green ground wire,
then it should be attached to the box's bare wire.
Step 7 - Completing the installation
After the fan is assembled and the wires are attached to the
ceiling box, tighten up some screw to completely attach the
fan to the ceiling box. After this the fan blades and the
trim should be installed as instructed in the manual by the
manufacturer. After all of this done, power should be turned
on and the installation should be tested. Stand in a safe
place, away from the fan, and activate it in their different
speeds, proving that it works well, without strange noises,
and that it does not wobble or vibrate when doing so. If you
find any sort of misalignment in the assembly, then fix it
and it is very easy and won't take much time.
These are the easy steps to install a ceiling fan in your
room with a very small amount of effort. If you are thinking
to install a ceiling fan in your house, then follow these
easy steps to complete the installation in the best possible
way. |
|
|
|
|
|
|
|
|
Singapore Leading Home & Office Ceiling
Fan & Lighting Specialists |
|
 |
|
| |
| |
|
They have got alot of
ceiling fan designs to choose from. I happened
to find them from Google and i booked for an
appointment and they came and recommended me
some ceiling fan designs. I am very pleased with
them. I would strongly recommend them to anyone
who is looking or ceiling fans and lighting. |
| Mrs Choo (Clementi) |
|
|
|
|
Singapore One Stop Solution For All
Types of Ceiling Fan & Lighting Services |
|
|
|
|
|
No Obligation Onsite Quote For
Lighting & Ceiling Fan Services |
 We are Specialists in:
Ceiling Fan, Ceiling Fan with Lights, Designer Ceiling Fan &
Lightings |
|
I just got my keys for my condo and i was
recommended by my colleague Albert to get a
quote from them. Indeed, they got many ceiling
fan designs to choose from and i am very
impressed with their rates and service. Keep up
the superb work guys. |
|
Mr & Mrs Chew (Punggol) |
|
|
|
|
|
|
|
|
|
|
|
|